
Fudgy Brownies with a Gooey Center and Shiny Crust
The difference between a fudgy brownie (dense and moist) and a cakey (spongy) one is the ratio of fat to flour: more fat and less flour equals fudgy. And that signature shiny crust comes from whisking the sugar well with the eggs until it dissolves.
- Prep
- 20 min
- Cook
- 25 min
- Total
- 45 min
- Calories
- 310
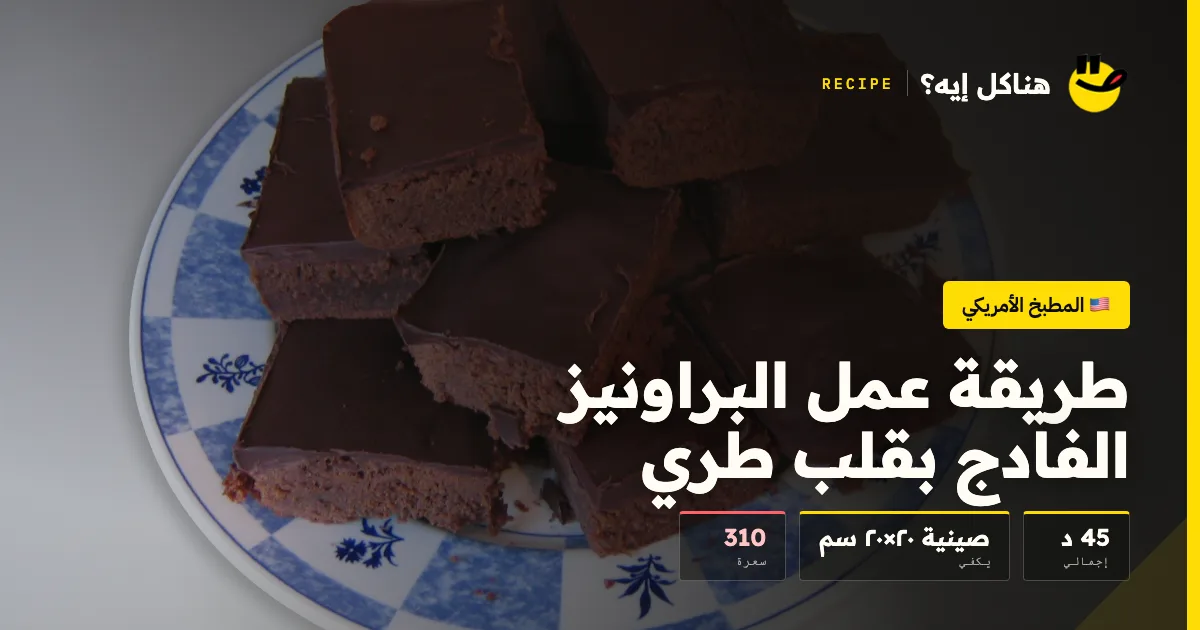
Photo: Wikimedia Commons — CC BY-SA 3.0 · Wikimedia Commons
Brownies are one of the easiest desserts, and the biggest game-changer is taking them out of the oven while they are still not fully set. Brownies baked until a toothpick comes out clean are dry brownies.
Method
-
1
Melting the Chocolate
Melt the dark chocolate with the butter over a water bath or in the microwave in 20-second bursts, stirring in between. Let the mixture cool down — if it's hot, it will cook the eggs and give a grainy texture.
-
2
Whisking Eggs and Sugar — The Secret to the Crust
Whisk the eggs and yolk with both types of sugar for a full 4-5 minutes until the mixture lightens in color, thickens, and you feel that the sugar has dissolved (rub a little between your fingers — you shouldn't feel any granules). This creates that thin, shiny, cracked crust.
-
3
Combining
Pour the warm chocolate mixture over the egg mixture gradually, folding gently with a silicone spatula. Add the vanilla. Do not whisk after this — whisking incorporates air and makes the brownies cakey instead of fudgy.
-
4
Flour and Cocoa
Sift the flour, cocoa, and salt over the mixture, and fold just until it disappears — 15-20 folds are enough. Add the chocolate chunks and nuts in the last two folds.
-
5
Pouring
Line the pan with parchment paper, leaving extra hanging over the sides to make lifting easier. Pour the mixture and spread it out, tapping the pan on the counter 3-4 times to release large air bubbles.
-
6
Under-baking
Bake at 175 °C for 22 to 26 minutes. Doneness: the edges are set and the center is still slightly jiggling, and a toothpick comes out with moist crumbs, not clean. A clean toothpick means you overbaked them.
-
7
Full Cooling
Let them cool in the pan for at least two hours, ideally 4 hours or overnight in the fridge. Brownies continue to set as they cool, and cutting them while hot results in a sticky mess.
-
8
Clean Slicing
Lift them out using the parchment paper, and cut with a large knife warmed in hot water and wiped dry, cleaning the knife between each piece. The hot knife cuts through the chocolate without dragging it.
Cooked it? Rate it
Your rating tells the next cook whether this recipe is worth their time.
✓ Thanks — your rating is in.
Tips that actually matter
- Whisk the eggs and sugar for 5 minutes until dissolved — the secret to the shiny crust.
- The chocolate mixture should be warm, not hot.
- Fold 15-20 times after adding the flour only.
- Take them out while the center is still jiggling — a clean toothpick means over-baking.
- Use a warm, wiped dry knife for clean slices.
People also ask
What is the difference between fudgy and cakey brownies?
The ratio. Fudgy has more fat and less flour, so it is dense, moist, and fudge-like. Cakey has more flour and a leavening agent (baking powder) and is whipped more, making it spongy and closer to cake. This recipe is fudgy.
The shiny crust didn't appear — why?
You didn't whisk the eggs and sugar enough. It takes 4-5 minutes until the sugar dissolves completely — rub some between your fingers and don't feel any granules. The dissolved sugar floats to the top and creates that thin, cracked layer.
They turned out dry — why?
You overbaked them. Brownies continue to finish cooking from their residual heat after the oven, so you must take them out while the center is still jiggling and the toothpick has moist crumbs. Only 22-26 minutes, and start testing at 22.
How long do they keep?
4-5 days in an airtight container at room temperature, and they actually improve on the second day because the flavors meld together. They also freeze for 3 months cut with parchment paper between the pieces.
Cook mode
Fudgy Brownies with a Gooey Center and Shiny Crust
-
1
Melting the Chocolate
Melt the dark chocolate with the butter over a water bath or in the microwave in 20-second bursts, stirring in between. Let the mixture cool down — if it's hot, it will cook the eggs and give a grainy texture.
-
2
Whisking Eggs and Sugar — The Secret to the Crust
Whisk the eggs and yolk with both types of sugar for a full 4-5 minutes until the mixture lightens in color, thickens, and you feel that the sugar has dissolved (rub a little between your fingers — you shouldn't feel any granules). This creates that thin, shiny, cracked crust.
-
3
Combining
Pour the warm chocolate mixture over the egg mixture gradually, folding gently with a silicone spatula. Add the vanilla. Do not whisk after this — whisking incorporates air and makes the brownies cakey instead of fudgy.
-
4
Flour and Cocoa
Sift the flour, cocoa, and salt over the mixture, and fold just until it disappears — 15-20 folds are enough. Add the chocolate chunks and nuts in the last two folds.
-
5
Pouring
Line the pan with parchment paper, leaving extra hanging over the sides to make lifting easier. Pour the mixture and spread it out, tapping the pan on the counter 3-4 times to release large air bubbles.
-
6
Under-baking
Bake at 175 °C for 22 to 26 minutes. Doneness: the edges are set and the center is still slightly jiggling, and a toothpick comes out with moist crumbs, not clean. A clean toothpick means you overbaked them.
-
7
Full Cooling
Let them cool in the pan for at least two hours, ideally 4 hours or overnight in the fridge. Brownies continue to set as they cool, and cutting them while hot results in a sticky mess.
-
8
Clean Slicing
Lift them out using the parchment paper, and cut with a large knife warmed in hot water and wiped dry, cleaning the knife between each piece. The hot knife cuts through the chocolate without dragging it.



Comments
Cooked it? Tell us how it went, or ask a question — we read every comment.